Tuesday, August 5, 2014

Woodland Park Zoo :: Date Day

A little while ago, (ok, like 2 months ago!) M and I went to the Woodland Park Zoo. This is one of our absolute favorite places to go on a date. We love it so much, that we have had annual passes for the past several years!

If you are ever in the Seattle area, you must go! It is easy to walk through the entire place in probably 5 or 6 hours, so it doesn't feel too overwhelming.

Our absolute FAVORITE exhibits to go to every time is the Willawong Station, the penguins, and the whole Northern Trail section.

The Willawong Station is so much fun because it is just a building filled with a ton of budgies, cockatiels, and rosellas. You go in, pay a buck for a seed stick, and you get to feed as many little birdies as you can reach! Now, I am quite scared of birds to be honest, but I feel like going in there helps me combat my fear and it is just so much fun! The birds are so sweet and friendly!

I am going to stop rambling now, and just show you a sampling of cute pictures of cute animals!


xoxo

Monday, August 4, 2014

Makeup Routine :: Face


As I mentioned in my last post, I have continued to realize that if I try and box myself in, or force myself to only talk or write about a certain genre (i.e. crafty stuff), I get B to the O to the R to the E to the D!!! Not to mention uninspired, hence the huge gaps in my writing.

Recently, I have re-ignited my passion for makeup and, since I have decided to stop trying to limit myself, I wanted to share with you all my makeup loves!

I used to never wear any face makeup; no foundations, powders, blushes, nothing. I never felt that I needed or wanted to schmear creamy crap on my face. A couple of years ago, I was watching infomercials (oh yes, I got sucked in!!) and decided I HAD to try one of the bareMinerals mineral foundation starter kits. My mom and I went to Sephora and I picked one up. This super cool kit also came with a bronzing powder, Mineral Veil (a finishing powder), and a couple of brushes. Oh yea, and an instructional DVD (which I made M watch with me, teehee!). After using it, I realized my skin, and my entire makeup look, could be so much more finished looking. What a shock, I know!

I still didn't think I needed anything major until recently. I have a lovely natural blush to my cheeks... *cough, cough* ok let's be real.... my cheeks are red as Rudolph's nose, like, all the damn time! It started to annoy me more and more so I figured I should up my face makeup game. Which finally brings us around to the point of this post!

A couple of weeks ago, I started to use a couple of the products I am going to mention in this post, and for the first time, probably ever, a complete stranger told me I had the most beautiful skin! Well, needless to say I went home after work, built a shrine to these new miracle products, and have knelt before them, pledging my everlasting devotion ever since.

Ok, ok, let's get on with it!

The first product that I use is the new Dream Pure BB 8-in-1 Beauty Balm Skin Clearing Perfector (holy crap, that's a mouthful!) from Maybelline. I feel that it gives me light to medium coverage, which I love because it really does look natural but it still tones down the redness a ton! And it also feels very hydrating. It did take me a couple of times to find the right amount to use, which I determined was about the size of a pea. Anything more than that still blended nicely, but felt a little too heavy for my taste. I also found that it made my face feel a tiny bit itchy throughout the day.

I have the lightest shade, Light Sheer Tint.

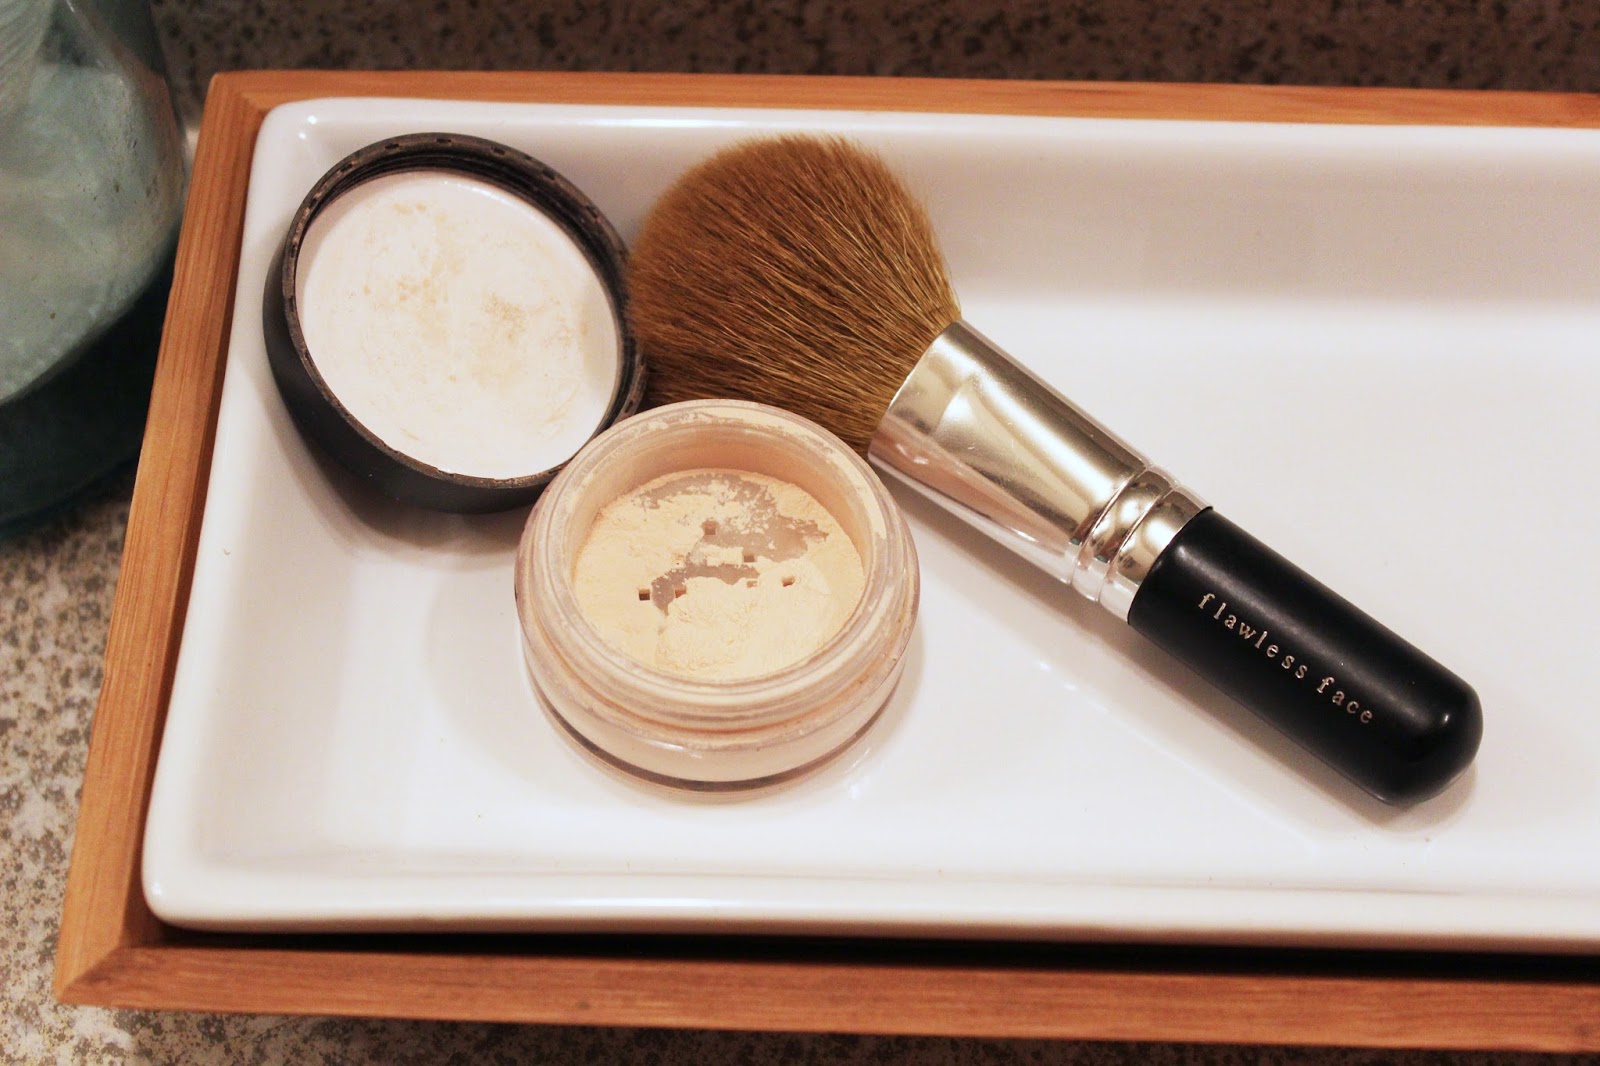
Once I have blended this all in, I use my Full Flawless Face brush (it came in my bareMinerals starter kit) and "swirl and tap" in my bareMinerals Matte Foundation in the shade C10 or Fair. I buff this around my whole face using circular motions, and go down onto my neck just a bit as well. If I have particularly stubborn blemishes, I will press a bit of the powder onto them with the bareMinerals concealer brush, and then buff a little bit more to blend it in.


Now, this may seem weird, but I actually put my concealer on under my eyes AFTER I complete my eye makeup look. GASP! I learned this little trick from a YouTube beauty guru named Claire Ashley and I believe it has made a huge difference! When you put it on after your eyes are complete, it helps to clear away any fall out from your shadows. Additionally, it sculpts your eye look, providing a clean edge along the bottom lash line as well as up around the eye area and into your temples.

For this step, I use my new fave concealer. It is the Instant Age Rewind Eraser Dark Circles Treatment Concealer from Maybelline (lovin' me some Maybelline, probably my fave drug store brand!) This concealer has the coolest applicator! It is a little sponge tip that feels so nice under your eyes, so soft and a little cooling. I use the Brightener shade because my skin is so fair, and I want to brighten up the skin under my eyes. I also blend it down along the edges of my nose as well. I just use my ring finger to blend it all out. I have learned to tap tap tap instead of schmear schmear schmear... it took some getting used to, but only because I am a little impatient and it takes longer. Ha!


The final step is to brush a bit of the bareMinerals Mineral Veil powder to set everything. I mostly concentrate this under my eyes, over the concealer, to mattify and set it, but I will brush it lightly over the rest of my face as well. I either use my Flawless Face brush (a bit smaller than the Full Flawless Face brush) or the concealer brush, which works great under the eyes.


So this is it! I know this may sound bizarre, but it makes me feel so much more girly to use face makeup... whatevs, it is super fun either way! And I love that my natural skin color, texture, and freckles still show through just enough to not look like a creepy mannequin. 

I will probably start talking more about makeup, or really, whatever else I feel like at this point! Screw rules! I am going to stop "should-ing" on myself and do what I want! :)

Let me know if you want to see anything specific, like my every day makeup look, or anything like that!

Thanks for hanging on through this sharp right turn, and hopefully I haven't totally lost you! :)

Ta ta!

Sunday, August 3, 2014

Personal Revelations


Hello there lovelys! Long time, no talk!

Ok, so I feel like I say that in every other post, and I am pretty sure I just need to knock it off! So what if it has been a while? I know there are certain "rules" for blogging and what not, and I definitely agree with most of them, but I am trying to remember that I don't do well when I am "restricted". :)

I am a pretty creative person, and it is hard for me to stick to doing one thing over and over again, which is why I love making my keshis. They are all OOAK, so there is always something new to discover, even if the basic principles are the same each time. This is how I feel about blogging. The same basic principles are there... engaging content, striking photos, good grammar and spelling, etc. But I need my posts to have that "OOAK" feel, or I will get real bored, real fast.

This is not to say that I won't have some sort of continuity and consistency, but I thought that when I started this blog I had to stick to craft-related items since that is what my "business" is all about. However, I have come to realize that I enjoy more of the "lifestyle" vibe. This way, I can write about whatever the heck I want, as long as it is somewhat interesting and can have a nice picture or two to accompany it. :)

I know that I will still want to have some structure, and I will only write about things that I actually like, so there will be a relatively short list of things I blather on about here. But I wanna blather on about more than just craft-related things! We all grow and change and there is nothing wrong with that, so why not create things that reflect those changes?

The whole point of blogging for me has become more than just getting my keshis noticed by a few more people. It has become something that I want to do in order to connect, explore, inspire, and be inspired by.

I do hope that you continue to pop in and enjoy this crazy thing I call life right along with me. We are all just a bunch of friends, sittin' around a table, sipping yummy drinks, eating yummy snacks, and chatting away for longer than any of us realize. And I can't wait to see you next time! Bring along some of those scrumptious chocolate chunk cookies of yours, won't you? ;)

xoxo

Monday, May 5, 2014

I've Been Published!

The day has finally come!! (ok, 5 days ago, but whatevs!)

The Summer issue of Art Doll Quarterly, in which my lovely circus girls are published, has hit newsstands everywhere!


When I first opened up this beauty, I saw that I was in the Table of Contents! Holy moley, are you freaking kidding me?! So, eager to see my simple little photo and brief story in amongst other crazy talented folks, I flipped to page 117, the page the table of contents told me to flip to, because yea, I was in the table of contents!! Remember? Remember how I mentioned that like 2 seconds ago? Still true!!

Ok, before you run off, terrified of my ridiculous ramblings, here's the rest of the story... I flipped to page 117 and BAM! A full, and I mean FULL page photo of my beautiful girls just exploded in my face! A whole page? For reals? I was fully expecting to be a little half-page spot, but no, they wanted to showcase these girls in all of their glory and I was so incredibly excited! I was home alone at the time that I opened up my issue, so I just grabbed the cat (poor thing, she should think twice before hanging out with me!) and gave her a squeeze and screeched incoherently for a few minutes. I am sure my neighbors thought really weird things were happening next door, but oh well!!


So there they are..... I am really still so crazy jazzed every time I look at this thing! I am going to buy a back up copy of the magazine, just in case. :D

And if you would like to purchase a copy but don't want to brave the crazy public, you can clicky on the badge on the right side of the screen.

Until next time! Oh yea, and happy Cinco de Mayo!!


Friday, April 25, 2014

A Token of Affection

~Photo edited with Mia, an Elements Action created by A Beautiful Mess~

Just wanted to share some love with y'all! Isn't that little canister so adorable?! I found it a thrift store a while ago and couldn't resist!

Hope you are all having a fantabulous Friday!

xoxo


Sunday, April 20, 2014

Hoppy Easter!


Just "hopping" in to wish everyone a great Easter from me and Bertram (my new bunny friend)! Gorge on brunch and chocolate, and then work it off with an Easter egg hunt!

Ciao!

Thursday, April 17, 2014

Thrifty Thursday :: Storage Ideas!

For the past several weekends, I have been FINALLY getting my craft room/studio/moon hut all put together the way I have always wanted it. As part of this project I have finally been able to unwrap and put away all of the gazillions of awesome thrift store storage finds I have collected over the last year or so. (Like I said, I FINALLY accomplished something in there!!) I have a serious procrastination issue... but I digress!

For this edition of Thrifty Thursday, I thought I would highlight some of my fave thrift store-age (ha! see what I did there? teehee!) ideas. This is also a way to ease into a full studio tour... not quite ready for that yet, but oh so close!

 First up, we have the prettiest glitter storage idea ever.... salt and pepper shakers!

I collected tons of these bad boys from every thrift store I could possibly find, and I am so excited to finally see them all displayed. I love seeing all of the different colors of glitter instead of keeping them hidden in a drawer like before. The two displays that the shakers are sitting on are also thrift store finds.


I keep one of the doors open on this little cabinet so I can still see all the shiny bits!

Next, we have my new way of storing all of my keshi parts! Ok, if you don't know what I do with these things, that sentence sounds really weird... But stay with me here! I also used to store all of the different wooden pieces used to create my keshis in a drawer, but now I can see exactly what I have at all times! If I am running low on heads, I will know way ahead of time.... or if I need some new body styles, just check the jar! I have them separated by function: bodies, heads, hair, and then miscellaneous embellishments.
 

See that little bit of blue in that big jar? That was my first attempt at the Fire Breather for The Runaway's Circus... I kind of forgot what order the colors of a flame should be in... ha!


More jars! This time, I have used them to store all of my loose ribbon, organized by color of course. :) They are sitting on a lazy susan, also a thrift store find, so I can easily see any of the ribbon I have. I can also spin it around if I get tired of looking at certain colors,


And finally, this awesome little rotating tray organizer dealy (that is the technical name of course). This is sitting on my desk and holds a veritable mish-mash of randomness. It's perfect because I seem to have a lot of random things that don't have a proper home. But they look so cute here! And that glass candy dish is full of various little kokeshis (erasers and cell phone charms) and several Dia de los Muertos skull beads, because, you know, everybody needs a dish of those!

And that hottie in the picture? My mommy! :) Back in her rock star days... one of my fave pictures of her!


I hope you enjoyed a little glimpse into my newly organized little slice of heaven. And hopefully I have provided a little inspiration for you as well! If you have any super cool storage ideas, leave a comment. I would love to hear!

Have a good day!